Install on macOS
To use Vapor on macOS, you just need to have Xcode 9.3 or greater installed.
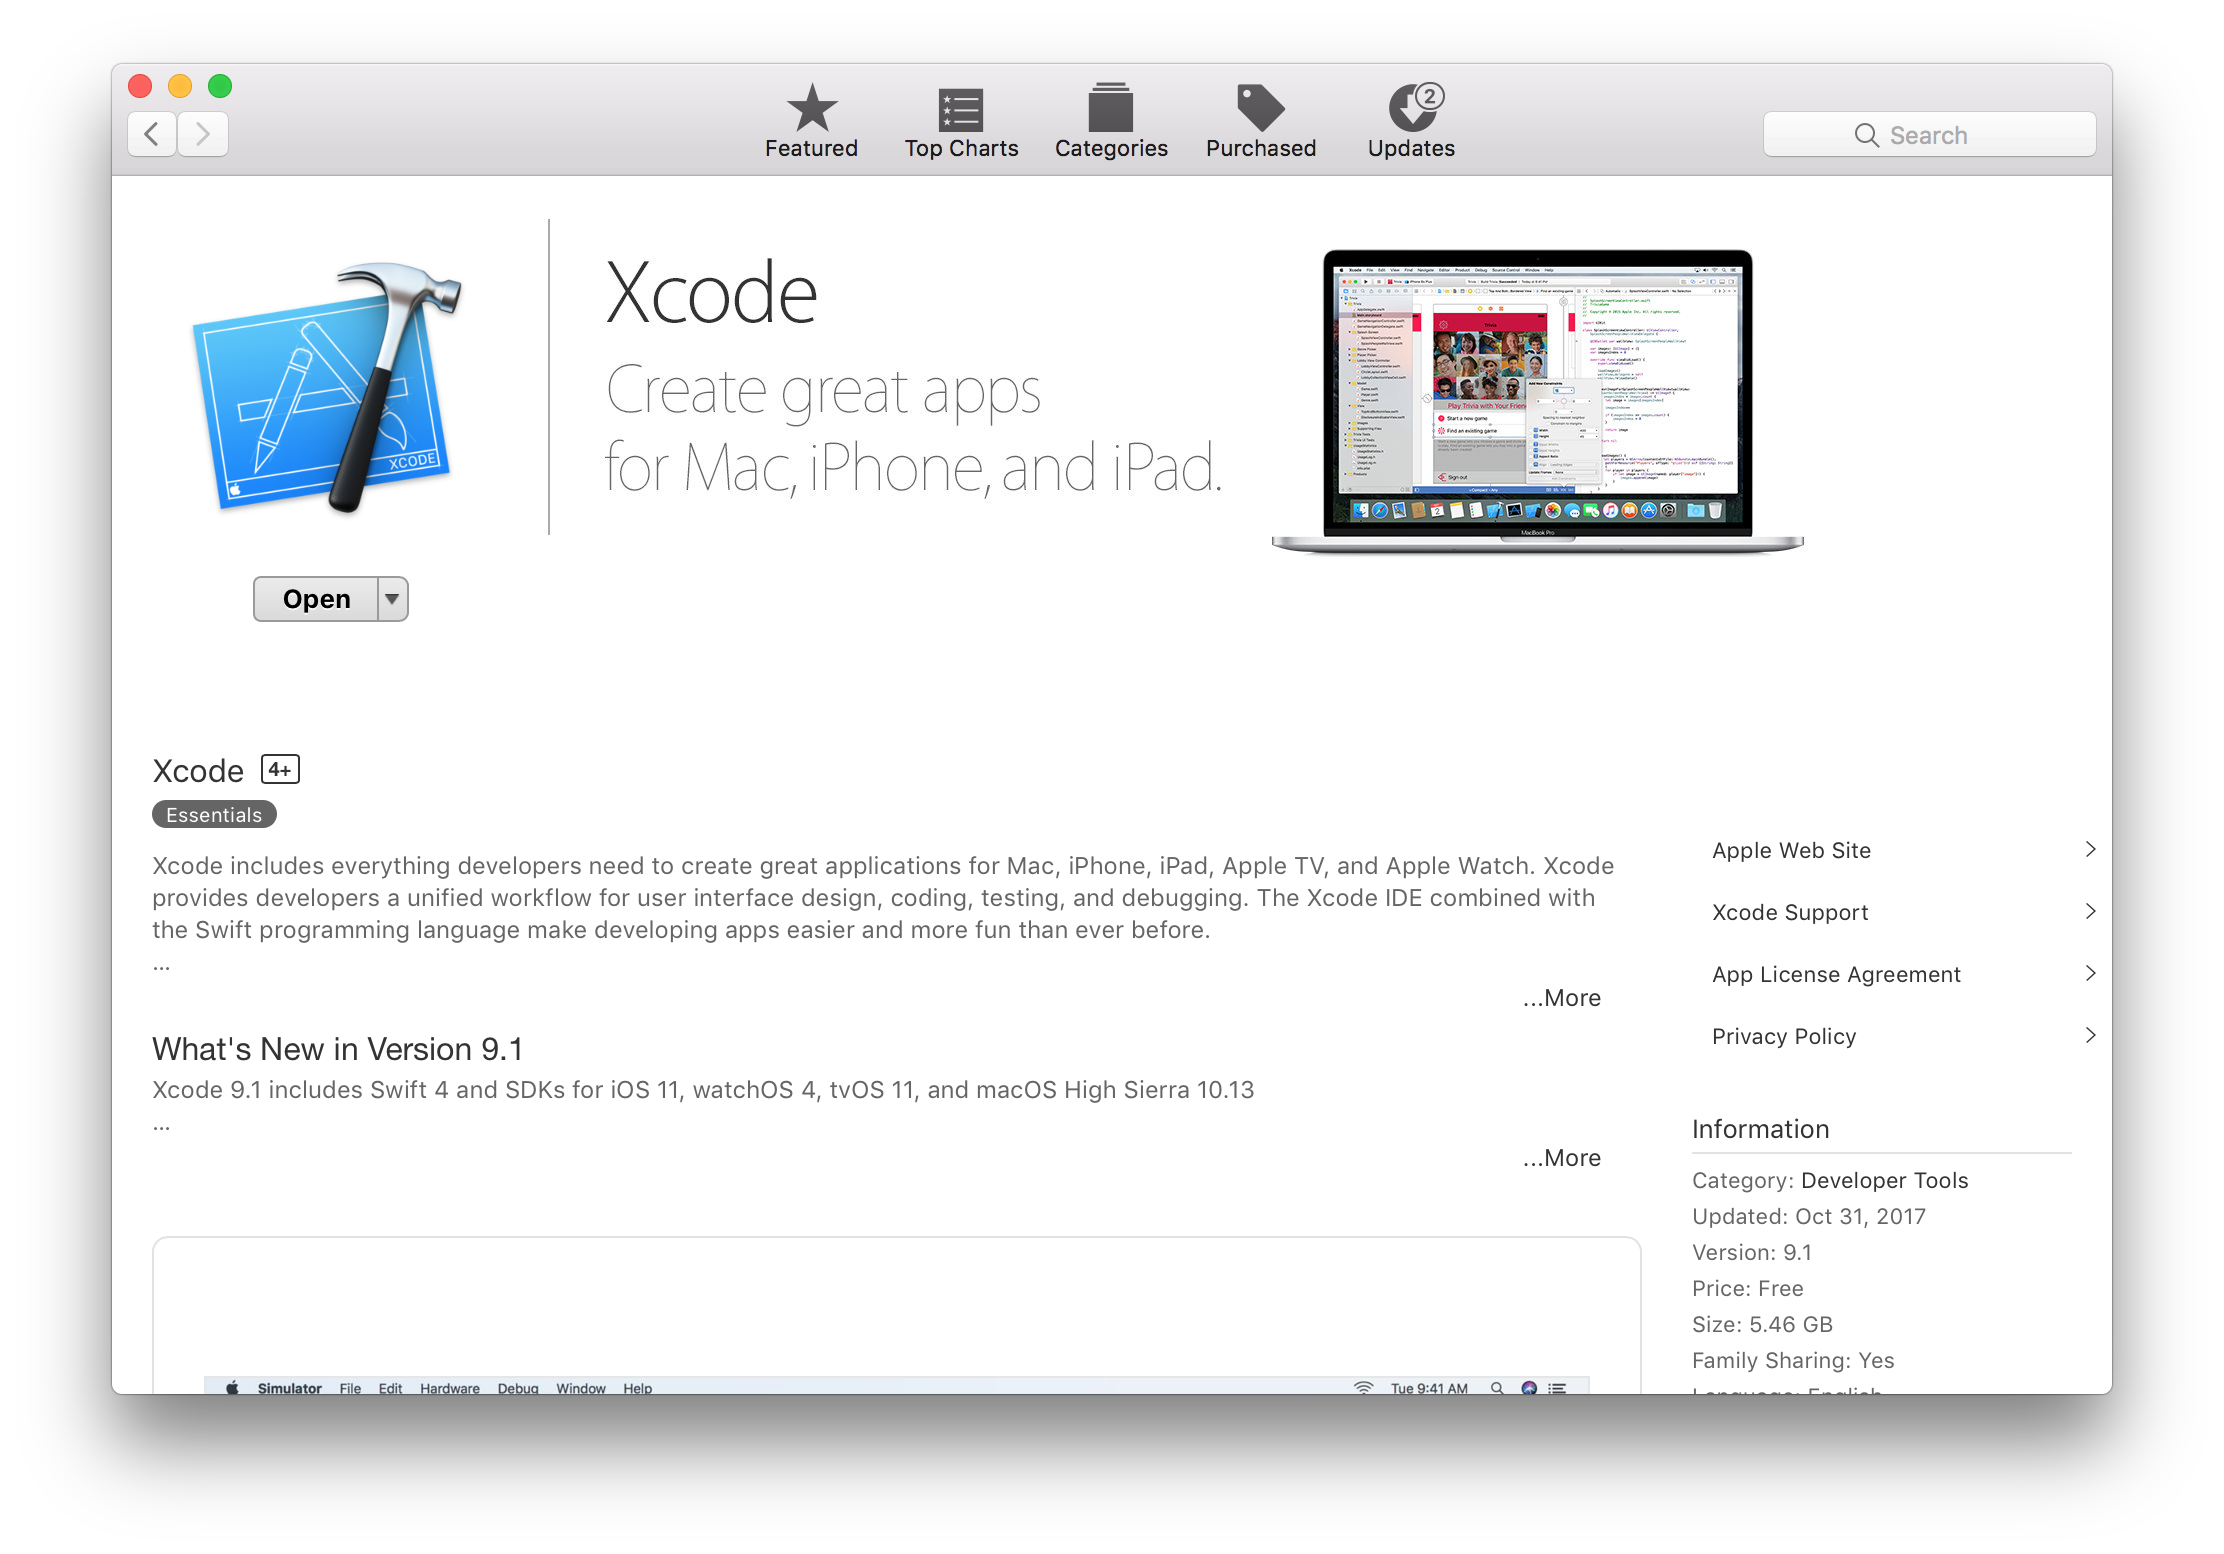
Install Xcode
Install Xcode 9.3 or greater from the Mac App Store.
Warning
After Xcode has been downloaded, you must open it to finish the installation. This may take a while.
Verify Installation
Double check the installation was successful by opening Terminal and running:
swift --version
You should see output similar to:
Apple Swift version 4.1.0 (swiftlang-900.0.69.2 clang-900.0.38)
Target: x86_64-apple-macosx10.9
Vapor requires Swift 4.1 or greater.
Install Vapor
Now that you have Swift 4.1, let's install the Vapor Toolbox.
The toolbox includes all of Vapor's dependencies as well as a handy CLI tool for creating new projects.
brew tap vapor/tap
brew install vapor/tap/vapor
Tip
If you don't already have Homebrew installed, install it at brew.sh →
Verify Installation
Double check the installation was successful by opening Terminal and running:
vapor --help
You should see a long list of available commands.
Done
Now that you have installed Vapor, create your first app in Getting Started → Hello, world.